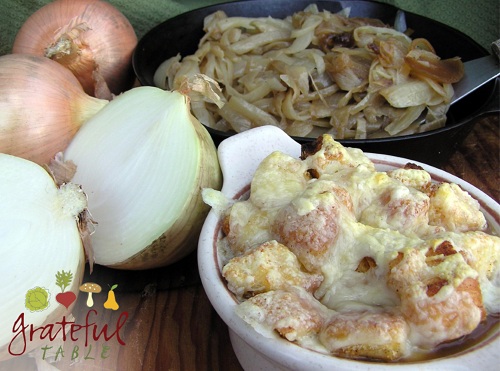
CLASSIC FRENCH RECIPE, EASY STYLE
The following large recipe is convenient to make, since it freezes well. Allow time for the onions to cook slowly on low heat, with an occasional stir. They need to be almost overflowing in the pan initially; they will “sweat” this way, creating enough moisture in the pan so that they’ll cook tender, without burning. (If sparsely covering the pan, they will be too dry and will burn more easily.) The onions shrink down considerably, and stirring them becomes easier; as the juices start evaporating, the onions should brown slightly between stirrings. In this way, the onions develop a rich, caramelized flavor.
Store-bought stock is the simplest option, but if meals are often made using roasts of beef or chicken, the raw materials are on hand for making a delicious broth. Pans should be “deglazed” after roasting meats—this is a fancy name for adding water to the pan and scraping until all the flavorful bits are dissolved into the liquid. That liquid can be strained, and should be refrigerated until the fat layer formed on top has hardened and can be removed. Save up these liquids in the freezer, if desired, until enough has accumulated.
Also, to make a traditional stock, one can simmer a chicken carcass after roasting it for another meal; this, added to any drippings collected from deglazing roasting pans, will create an exceptional French Onion Soup!
Another handy trick involves using red wine vinegar when making the roux for the soup. The flour/sugar/salt mixture dissolves smoothly into the red wine vinegar, which can then be easily added to the hot stock, stirring until a bit thickened. Vermouth is typically added to French Onion Soup, and can be used in place of the red wine vinegar for a more traditional soup. But red wine vinegar is an economical substitute, and works well, adding a touch of tang to the savory, sweet blend of other ingredients.
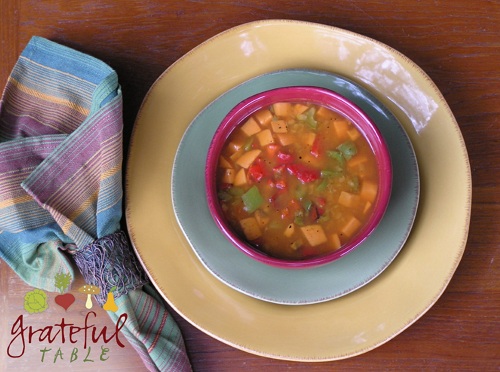
Serves 8-10 (3 qts or so).
INGREDIENTS
- 3-5 lb. sliced yellow onions
- 2 TBS. olive oil
- Approx. 1/4 c. water
- 2 qt. (8c.) chicken stock, plus beef drippings* and water as needed, to make 8 c.
- 1/4 c. flour
- 1/4 c. brown sugar (loose-packed)
- 1 TBS. salt
- 1/4 c. red wine vinegar (or red wine or vermouth)
- 3 c. or so croutons
- 1/2 lb. or more grated Swiss cheese
- 1 c. Parmesan cheese
PREPARATION
1. Saute in 12″ iron frying pan : > 3-5 lb. sliced yellow onions > 2 TBS. olive oil > Approx. 1/4 c. water
2. Stir often at first, on medium-high heat, until they soften up. Then turn heat down, stirring occasionally, cooking for an hour or so, until sweet and browned.
3. Heat in large 4-qt. pot: > 2 qt. (8c.) Chicken Stock, plus beef drippings and water as needed, to make 8 c.
4. Mix the following well with a fork until smooth: > 1/4 c. flour > 1/4 c. brown sugar (loose-packed) > 1 TBS. salt
5. To the flour/sugar/salt mix, stir in: > 1/4 c. red wine vinegar (or red wine)
6. Bring stock to a boil, adding the above mix, stirring well. Boil on medium high for 2 minutes. Add sauteed onions last. Serve hot soup topped with croutons, broiled with Swiss cheese and Parmesan on top. Chill any extra soup, putting up into quart or pint containers for longer keeping. Lasts 2-3 weeks in the refrigerator, or two months in the freezer.
* Beef Drippings: After roasting a cut of beef of your choice, add 1 c. water to the roasting pan. Let the drippings dissolve; heat if desired. Strain the juices, storing up a quantity until you have enough for soup. (Fat will congeal on top after refrigerating, making it easy to remove.)


