One might add different flavorings, or tint the fondant. Some recipes call for corn syrup and salt, which doesn’t seem necessary. (Using salted butter adds sufficient flavor.)
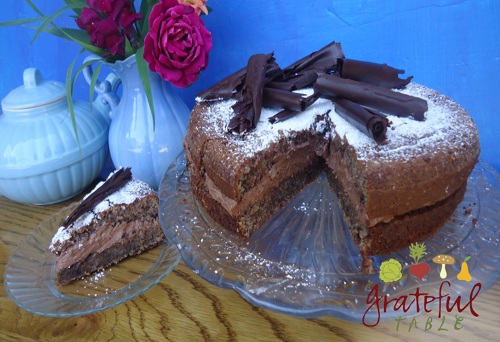
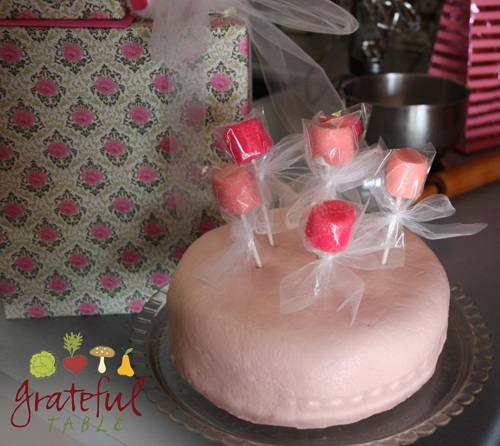
This particular cake was “Baba Rum” (alcohol-free version, recipe here). It was cut into layers which were spread with strawberry puree and whipped chocolate cream. When making a taller, layered cake, whatever cake recipe is used should be heavy enough to withstand the weight of the fondant. Red velvet might be another option.
This recipe makes enough for a 9″ round two-layer cake.
 INGREDIENTS
- 1 (10 oz.) package marshmallows
- Scant 3 TBS. hot water
- 1 tsp. vanilla extract
- Optional: Coloring or other flavorings
- 1 1/3 lb. confectioners’ sugar (5 c. or more)
- 3 TBS. butter, room temperature
PREPARATION
1. A day ahead, microwave in a microwave-safe bowl for 30-60 seconds, until marshmallows start melting: > 1 (10-oz) bag marshmallows
2. Add water and vanilla extract, stirring until smooth: > scant 3 TBS. hot water > 1 tsp. vanilla > Optional: Coloring or other flavorings
3. Butter a mixing bowl, a dough-hook (or beaters), and a large square of plastic wrap. Also butter hands, for easier cleanup! Use: > 3 TBS. butter
4. If there’s extra butter, it can be added into the fondant after the confectioner’s sugar is mixed in. Add much of the confectioner’s sugar to a mixing bowl, adding melted marshmallow mix on top. Mix on low until blended. (Or, mix everything by hand, greasing hands extra well before mixing/kneading the ingredients together.) Start with: > about 3/4 lb. of the confectioner’s sugar
5. Slowly add: > Remaining 1-2 c. confectioner’s sugar (using about 1 1/3 lb. total)
7. The dough will be very stiff. Mix and knead until pliable (5 minutes or so). Turn fondant out onto the buttered plastic wrap. Pat it flat, into the necessary shape (round or rectangular). Wrap fondant in more buttered wrap and let sit out overnight to rest. (The fondant can be made days earlier; it keeps several weeks).
8. To use, roll out on a flat surface, buttering the rolling pin and the countertop (or plastic wrap) as needed. Roll it out large enough to drape over the shape of the cake; edges can be cut off afterward.
9. Frost the cake with a simple frosting first (a mix of butter, confectioner’s sugar, and a splash of cream will work). The fondant will stick better, and edges get more smoothed out, with an extra layer of frosting.
10. Make shapes with leftover fondant, adding to the main fondant layer, if desired.