It’s not just an exclusive club that gets hit with Alzheimer’s and Dementia. Anyone can fall prey to these horrible conditions. But truthfully, I hadn’t given it much thought until earlier this year, when my 73-year-old mother became suicidal, paranoid, and delusional.
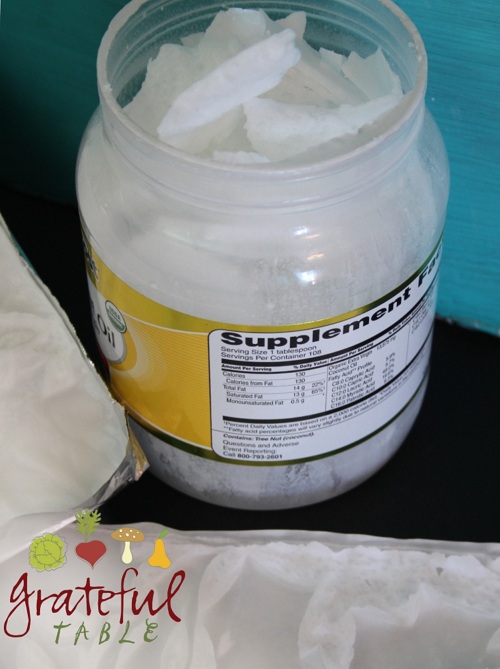
Let the oil melt in a low-temp oven (or use double boiler); pour onto aluminum foil, chill, then break into easy-to-use pieces!
Mom had always been a fun, loving, intelligent, faith-filled woman. Who was this new person? The doctors had just diagnosed her with Alzheimer’s, and I had begun a mourning process. I was grieving the loss of “mom”; I hardly knew this new person.
Friends and family began praying, and I also began an in-depth study on Alzheimer’s and dementia. While there has been little breakthrough in treatment or prevention, Dr. Mary T. Newport’s studies proved hopeful (find her book on Amazon here). She began researching in hopes of treating her husband, and found some promise in coconut oil, which is an excellent source of medium-chain fatty acids (MCTs). The Alzheimer’s brain is insulin-deficient, but the MCTs provide fuel, leading many patients to a stabilization or even a reversal of symptoms.
This was the best news I’d heard yet. I’m now keeping my mom supplied with a “coconut bark” confection I make regularly (see recipe here), and she’s been using coconut oil in her oatmeal. Months later, she has (oh, so thankfully) been given a better diagnosis. And while she is also receiving some drug therapy, the coconut might be helping too. We’re going to keep eating it, just in case!
Here’s the low-down on what/how/where to find quality, economical coconut oil:
- Costco and other warehouse supermarkets have been carrying it
- There’s also this smaller jar (found at Trader Joe’s): Organic Virgin Coconut Oil
- I was thrilled with this economical, recent purchase I made on Amazon (organic, extra virgin, good-tasting): Vitacost Extra Virgin Certified Organic Coconut Oil — 54 fl oz
- I also loved my purchase of this “Coconut Manna”: Nutiva Organic Coconut Manna, 15-Ounce (Pack of 2)
(“Coconut Manna” is a puree of the whole coconut- very nutritious and flavorful!)
- Wilderness Family Naturals carries a similar product to the manna: “Coconut Spread”, Raw, Certified Organic, 16 oz.
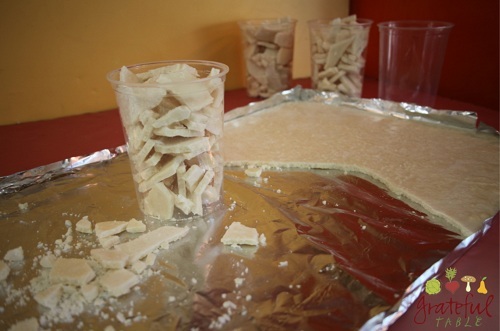 Next step, how to make coconut oil handy to use? It doesn’t have to be refrigerated, since it’s so stable, but in colder climates, you might find a jar of coconut oil to be a hard, solid mass, difficult to get out of the jar. If that’s the case, warm it on a double-boiler (or in a low-temp oven), to melt it, then pour melted contents onto aluminum foil (with a little ridge around the edges). Let sit overnight on counter; by morning, the coconut oil will firm up. Once firm, break into pieces, making it much easier to use.
This method works particularly well for coconut butter (AKA “coconut manna”, “coconut spread”, or “coconut cream concentrate”). Such products contain the coconut meat and fiber too (not just the fat), so they need refrigerating. If the jar’s been processed into chunks (as mentioned above), the refrigerated chunks will be much handier to use than trying to chip some off the solid block.
Meanwhile, here’s three great things about coconut oil:
- 1. Don’t Fear the Fat- This particular fat can increase metabolism, has antibiotic qualities, is a great antioxidant (think, anti-aging), AND it helps the body absorb the minerals it needs.
- 2. Instant Energy- Coconut oil is easily digested and goes straight to the liver to be used as energy. This is a plus even for those with diabetes and gallbladder issues, as it doesn’t need bile or pancreatic enzymes in order to be utilized.
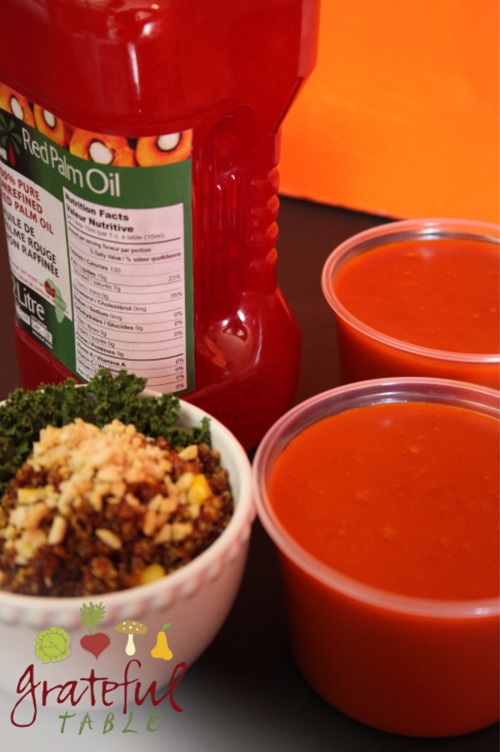
- 3. Tasty Treats- Coconut oil can be used in cooking, when stir-frying veggies, or to add flavor (and nutrition) to soups and sauces. Other coconut products include cream, milk, coconut “flour”, and coconut puree. The puree is blend of the coconut meat, full of coconut flavor and fiber too; it forms the base for the coconut bark recipe. It might be marketed as “coconut spread”, “coconut manna” or “coconut cream concentrate”.
I add coconut “manna” to my smoothies every morning; my husband adds it to his oatmeal too. Have you tried using coconut oil (or cream, manna, spread, etc.)? What did YOU think?! (Comments welcome :D)