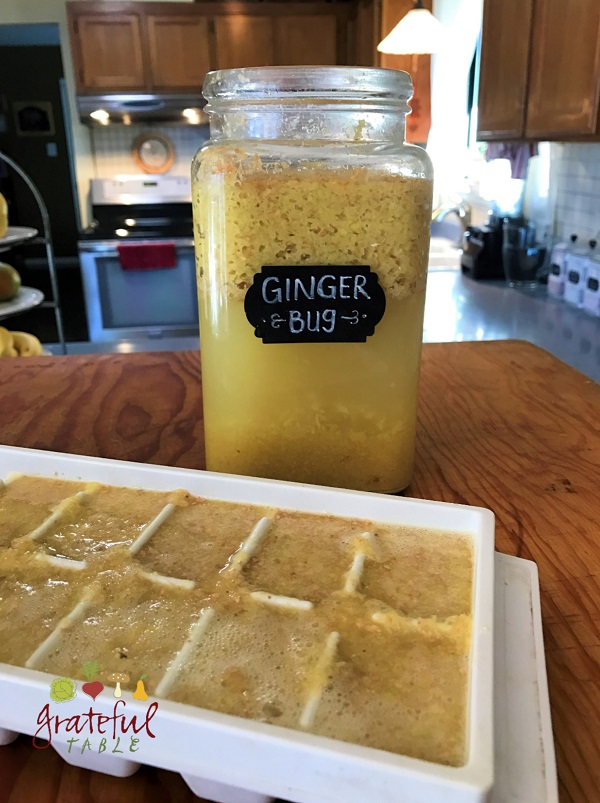
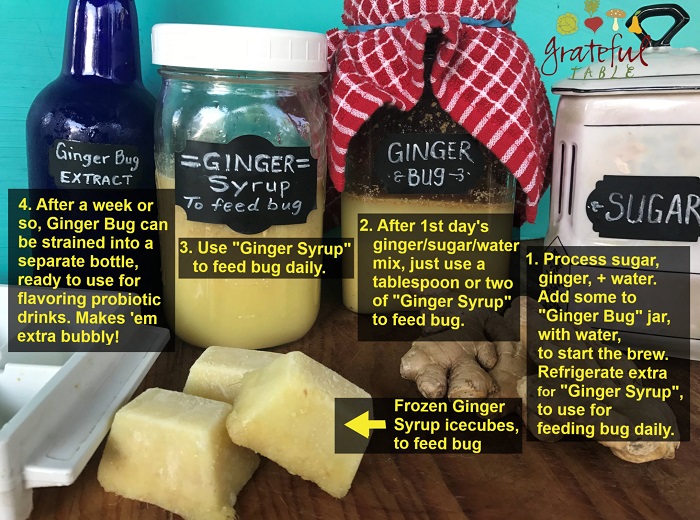
Most recipes for ginger bug would have us grating some fresh ginger every day, mixing it with a bit more sugar and water, to feed the bug. I don’t have time for that! So I came up with a quicker method: I process a big bunch of ginger with an equal part of sugar, adding double that quantity of water. Two quarts will keep in the fridge for two weeks, to use for daily feedings (about 1-2 TBS. per feeding). And I freeze any extra in ice-cube trays. Daily feedings become easy that way.
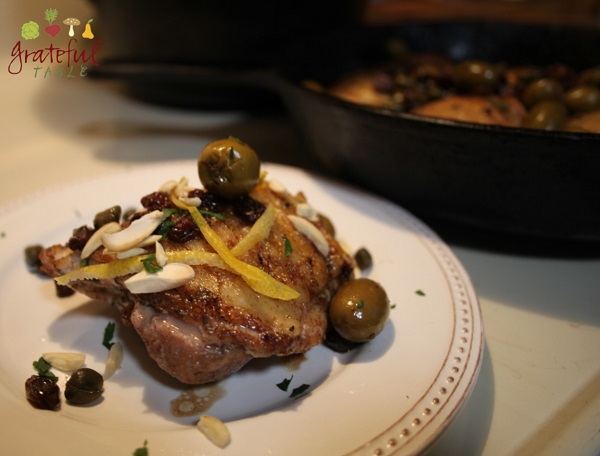
 But what’s “ginger bug”, you ask? It’s a beneficial culture, for making healthy fermented sodas. Add some to the second ferment of kombucha or kefir, for a natural “gingerale”. So tasty, and good for digestion too.
One caveat: Only use organic ginger! I’ve tried using non-organic on two different occasions, and it ruined my bug every time. It may be hard to locate organic ginger, but it’s worth the hunt. I guess that’s why I like to buy a whole lot of it when I do find it (I usually get at least a pound at a time). The ginger/sugar mush I make with it will last. A quart or two lasts two or more weeks in the fridge, and ice cubes of it last months in the freezer.
Once the top layer of the ginger bug brew has gotten bubbly (see top picture), most of the batch can be strained into bottles. Just a few tablespoons of the bottled “ginger bug extract” will flavor a big bottle of kombucha or water kefir.
Details: I should mention that most ginger will have a lot of starch in it. Thoroughly stir the starch that settles at the bottom of the jar, daily. Typically, I store the bottled extract upside-down in the fridge, so that it’s easier to shake the starch back into the brew when I’m using it to flavor drinks.
 INGREDIENTS
- 8 oz. fresh ginger root
- 1 1/2 c. sugar
- 2 c. filtered water for mix
- 2 c. filtered water for starter
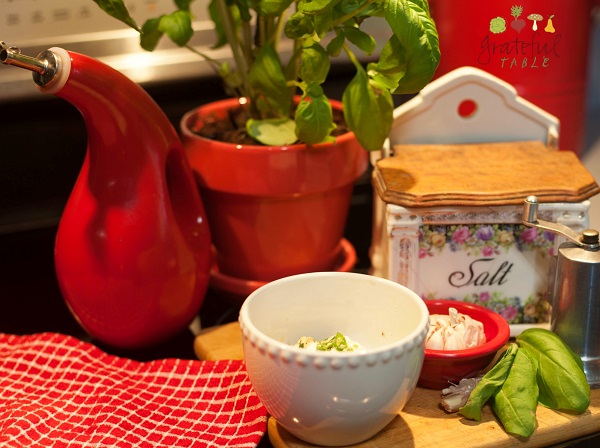
To make an easy ginger/sugar mix to store in the freezer for months, process the two ingredients in a blender, to a fine “slush”. Chop the fresh ginger into pieces (I don’t peel mine) and process with the sugar in blender, using: > 8 oz. or so fresh ginger root (about 6 large “fingers”) > 1 1/2 c. sugar
Add to the mixture: > 2 c. filtered water
Set aside 1 c. of the ginger/sugar/water mixture for the starter batch. Store the rest of the mixture in the refrigerator for up to two weeks. If making a really big batch, freeze the extra in an ice cube tray. Grab an ice-cube per day, for the ginger bug’s daily feeding.
The initial starter will need these amounts, mixed into a jar (one-quart size or larger): > 1 c. ginger/sugar/water mix
Also add to jar: > 2 c. filtered water
Add a lid and shake well. Remove lid and use a rubber band and coffee filter (or napkin or paper towel) to cover the top.
Stir the mixture once a day for five to eight days, with a non-metallic spoon or spatula. Each day, add: > 2 TBS. ginger/sugar mix > 2 TBS. water
The culture is active when bubbles form in the top layer (where the ginger pulp floats). It will get cloudy, and may seem fizzy and smell lightly yeasty. This might take up to eight days. (On one occasion, mine didn’t get that bubbly layer for about a month, but it still fermented within the first week or so.) Deal-breaker: If mold grows, remove the mold. Discard the mixture and start over if it gets moldy again.
When fermented, strain most of the liquid out, removing the pulp. Store this ginger bug extract in a bottle in the fridge, using it for the second ferment of kombucha or kefir, for a delicious, natural, healthy “soda”. It will make EXTRA bubbly drinks. Spoiler-alert: put a towel over bottles before opening, and open carefully. Most kombucha and kefir brews will get quite bubbly after a day or two, especially with ginger bug added. Please refrigerate at that point. Do not leave them on the counter for longer than that. Also, burp any bottled drinks that are sitting out, at least once a day. This will relieve some pressure, and if they’re fizzy, you’ll know they’re done.
For a 32-oz. bottle, use: > 1/4 c. ginger bug, strained
The ginger bug can also be refrigerated: then it will only needs to be fed weekly. A loose top on it will do, but even bottled with the ceramic stopper, it will continue to ferment a bit. To any refrigerated ginger bug, add another 2-3 TBS. of the ginger/sugar mix, plus 2 TBS. water, each week.