I’ve decided to post all the recipes (or links) to my fave Christmas cookies on this page, even if written in weights only (you do have a scale anyway, don’t you?!). My granddaughter’s coming over soon to help with Christmas baking, and I liked the idea of showing her what our options are. Here’s what I rounded up…
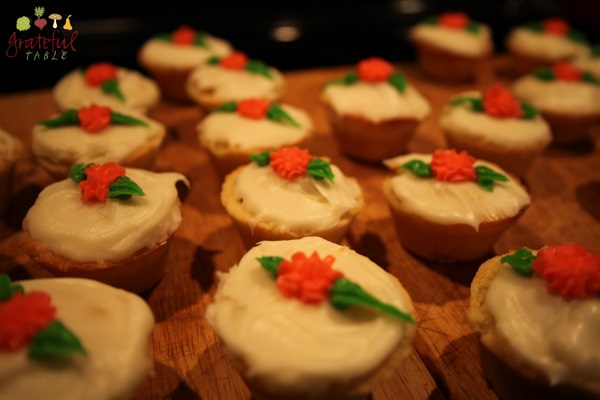 Almond Tarts: These are much easier to make now that Trader Joe’s has blanched almonds at a reasonable price. (You can do ’em yourself easy enough, if you have time, but…) Make sure you have plenty of almond extract on hand for these!
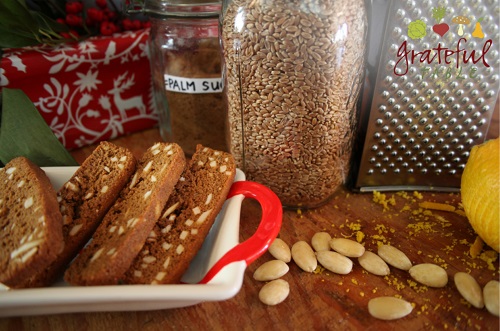
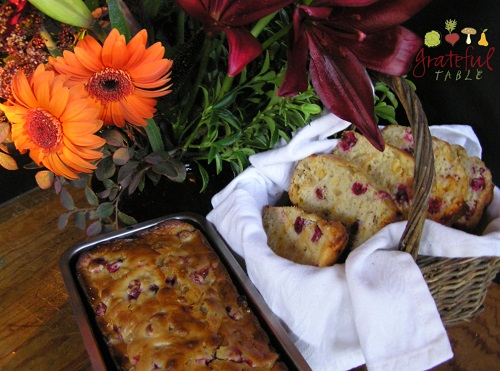
Biscotti (Or see this Biscotti, Healthy Style version): A good cookie for dipping into tea or coffee, this traditional cookie starts as a loaf, gently baked. It then gets sliced; the slices get baked again, creating a crunchy cookie. Usually flavored with almonds or other nuts, citrus zest, and/or dipped in chocolate.
Ingredients
- 1 1/4 c. whole almonds, blanched
- 1/2 c. butter
- 1 c. sugar
- 2 eggs
- 1 TBS. Anisette (or other flavoring)
- 1 1/2 tsp. baking powder
- 1/2 tsp. salt
- 2 c. flour
- 1/2 c. coarse corn meal
- 1 1/2 tsp. anise seed (or orange zest)
Toast: > .40 whole almonds, blanched (1 1/4 c.)
Cream: > 1/2 c. butter > 1 c. sugar
Beat into butter mixture: > 2 eggs > 1 TBS. Anisette (or other flavoring) > 1 1/2 tsp. baking powder > 1/2 tsp. salt
Stir in next: > 2 c. flour > 1/2 c. coarse corn meal > 1 1/2 tsp. anise seed
Add an extra 1/4 c. flour if dough’s too sticky. Grease 2 cookie sheets (or one deli sheet) and form dough into 4 loafs, 2″ wide and 3/4″ thick. Bake at 325 degrees for 35 minutes, until light brown at edges. Cool 8 minutes, then slice loaves into 1/2″ slices. Lay the slices down on cookie sheet and bake 8-10 minutes more at 325.
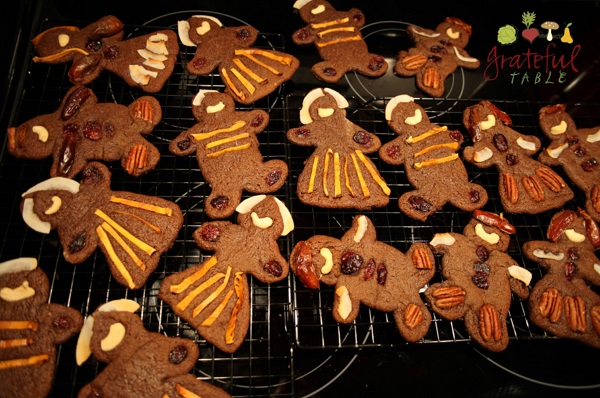
Gingerbread Cookies: Much easier to manage the decorations when we use dried fruits and nuts. Frosting’s the other option, but more time-consuming! Plus, the fruits and nuts (and maybe some chocolate chips) make these healthier.
Russian Tea Cakes (AKA Mexican Wedding Cakes): Versions of this cookie can be found even in grocery store bakeries, though they don’t usually have the same buttery, melt-in-the-mouth texture the home-made ones have. Here’s the recipe I use, using weight measurements for an easier recipe:
- .50 butter (1 c.)
- .15 confectioner’s sugar (1/2 c.)
- 1 tsp. vanilla
- .65 flour (2 1/4 c.)
- 1/4 tsp. salt
- .20 chopped nuts (3/4 c.)
Cream butter, sugar and vanilla. Stir in dry stuff, chill. Form teaspoon-sized balls and bake at 400 degrees for 10-12 minutes. Roll in more confectioner’s sugar while warm.
Scotch Shortbread: These are so rich and buttery! Here’s an easy recipe for them using weight measurements:
- .37 butter (3/4 c.)
- .13 sugar (1/4 c.)
- .62 flour (2 c.)
Cream butter and sugar. Stir in flour w/hands. Chill dough, then roll out, cut in shapes. Bake at 350 degrees 20-25 minutes. (They won’t turn brown, but will be done.)
Snowflakes (Or Hearts, Etc.): Another recipe I have written down in weights for convenience. Also quicker thanks to the already-shelled pistachios available at TJ’s! A little smear of chocolate glues two snowflakes together; another smear of chocolate on top gets sprinkled with pistachios. Yum!
- .50 sugar (1 c.)
- .37 butter (3/4 c.)
- 2 eggs
- 1 tsp. vanilla
- .75 flour (2 1/2 c.)
- 1 tsp. baking powder
- 1 tsp. salt
- Chocolate, to melt
- Pistachios, chopped
Cream first four ingredients. Mix dry ingredients together, then add to creamed mix. Chill 1 hour. Cut out shapes, bake at 400 degrees 6-8 minutes. Put 2 cookies together with some melted chocolate. Add a smear of chocolate to the top, sprinkle with pistachios.
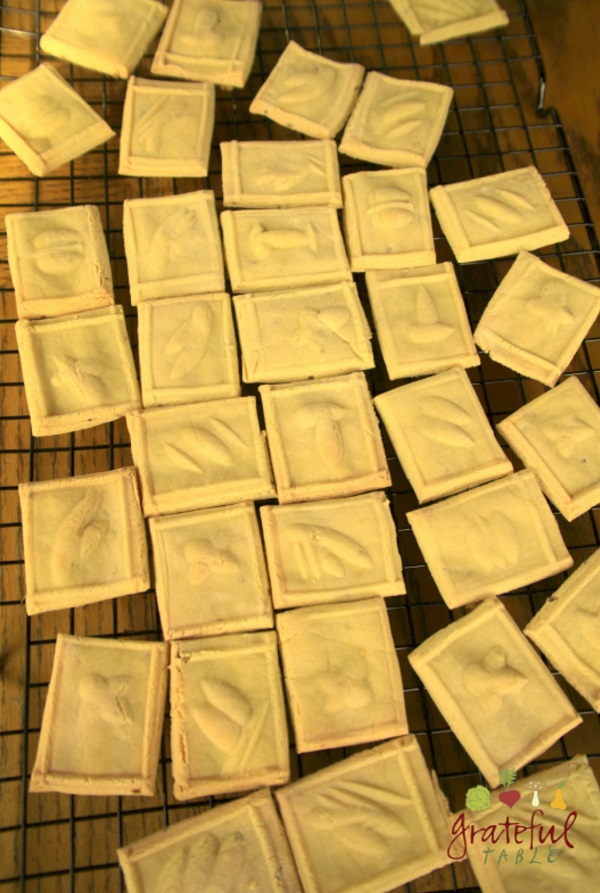 Springerle: This anise-flavored cookie is fun to make; designs are carved on the “Springerle” rolling pin, creating embossed squares that get baked long and slow until they’re the right texture. Not a rich cookie, but a good one for dipping into tea!


 Growing up in the sixties, a few friends had heard that packets of gelatin mixed in warm water might help with hair and nail growth. Even back then, I had some health concerns, and my nails were the pits. So… I tried it. Did my nails become awesome? Did my hair become luxurious? No! I hadn’t yet resigned myself to the fact that I did not genetically inherit the lushest of hair, or exceptional nails. So, like many other teen fads, that one faded. It didn’t solve all my problems, so I figured it bordered on useless. (Kids…)