“Eat Local”, as in your backyard!
My head was about to explode over the immense wealth of world wide web info on being healthy and fit. So I thought I’d better take notes in a post, which you can join me in mulling over, if you’d like.
It started over half a year ago, when I realized I was going through another phase of not being able to shake a few pounds. This happens now and then, if my eating habits get more and more lax. Not that I want to get obsessive about this… But I do feel better at a certain weight, and I digest my food better, and my food-burning bank account stays flush. (We usually want to see our bank account grow, but not in this case.)
I thought I’d look into some of the THM (“Trim Healthy Momma”) products, which I’d seen at my daughter-in-law’s. I was curious about the approach of these two Christian sisters, who have a popular book out, and website to go with it. Michelle had tried THM’s Baobab powder*, which comes from the fruit of the Baobab tree, and is incredibly nutritious. I’ve already got my own theory that, as soil nutrients gradually get wiped out from over-farming, much of our food is less nutritious. So it only makes sense that foods from more ancient, more pristine and far-away soils would contain more nutrients than our run-of-the-mill produce. (Oops- I really do want to buy local, and I do actually grow bunches of our own foods, but…I buy bags of superfoods on Amazon too.)
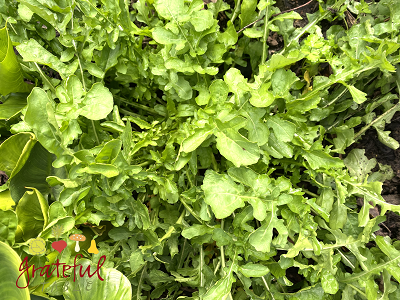
Arugula’s thriving in the garden
I felt a bit like Alice in Wonderland, like I’d fallen down a worm hole to another dimension, pondering talk of “S Meals”, “E Meals”, and “FP Meals” (as mentioned on the THM website). A lot of it makes sense, though I hadn’t considered or even heard of this approach before. Basically (super-streamlined version), if we want to be trim and healthy ourselves, we might follow three rules as much as we can (even if we do splurge on occasion).
#1- Always separate fats from carbs. Wait. What? I thought I could have that homemade artisan bread and butter as a snack. Oops. (Note to self: This would be a great weight-loss strategy for me, since I never really want bread without the butter. Maybe a little bread with my butter… I hardly even want carbs if I can’t load ’em up with some yummy fats!)
#2- Always include protein; a good mate for carbs or for fats. Hold on. Again. I guess I need to include some protein in my meals and snacks?! Makes sense though. If I have a snack of a cup of blueberries, I might even get hungrier. (Weird, but true.) So then I might eat another cup of blueberries. Or something worse, because I’m still hungry. Humm…maybe this could work…
#3- Stay away from all forms of sugar (a weight-gainer). Well, that makes sense. Except for the nod to stevia. A lot of the THM recipes include stevia, which doesn’t totally make as much sense to me, since one of my goals is to NOT have a sweet tooth. A friend and I have noticed how we could retrain our tastebuds to the point where raspberries taste plenty sweet. So I would skip the stevia. Even if I have heard that stevia doesn’t raise insulin levels, there is this article to consider (about how we might get messed up because our bodies think we’ve just ingested a bunch of sugar calories, but actually didn’t).
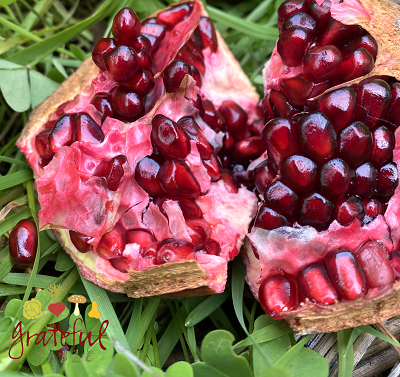
Pomegranates- A tart winter fruit loaded with nutrients
So… let’s see. Where did my head start exploding? I could actually wrap my mind around the three rules, and even the Meal Definitions didn’t seem too overwhelming. Those are, in a tidy nutshell, as follows:
“S Meals” = “Satisfying- These are meals of proteins and fats, which contain zero or very low carbs. (Think veggies, but not potatoes, which have too many carbs.)
“E Meals” = Energizing- These are meals of lean proteins and carbs (like, 45 grams or less of the carbs- no big starches here either). E meals are also low fat- only about 2 tsp. fat total. (The little bit of fat helps the body glean more nutrients from the meal.)
“FP Meals” = Fuel Pull- These meals will help a body burn fat, and consist of lean proteins, with hardly any fat or carbs. Without those extra carb/fat calories, the body ends up using its own fat or energy stores to digest that lean protein.
So Now What?
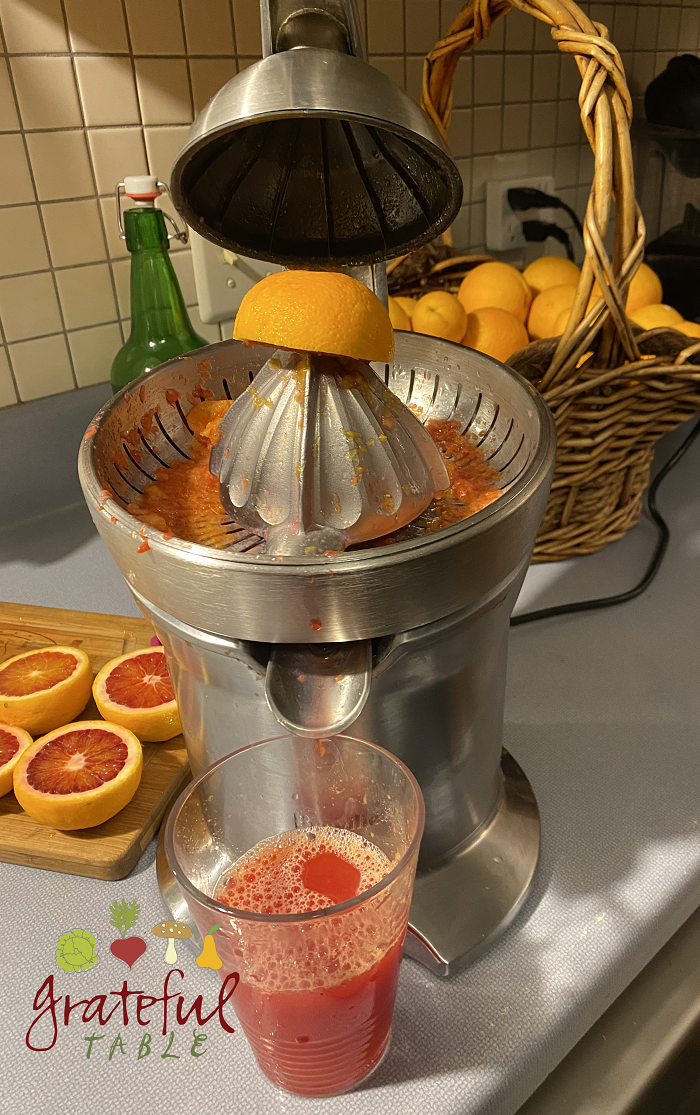
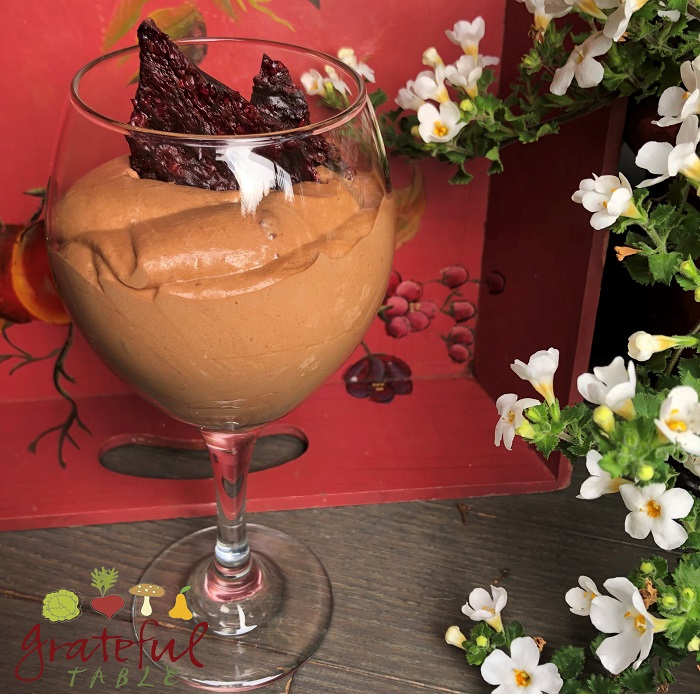
:When Life Gives You Lemons”, or, “When the Season’s Harvest is Blood Oranges…”
Our pastor likes to finish sermons with a “So What?” So, I’m stealing it. Since, after processing all this info, and beginning this quest (over six months ago) to reestablish a healthy, working system, what have I concluded? What now?
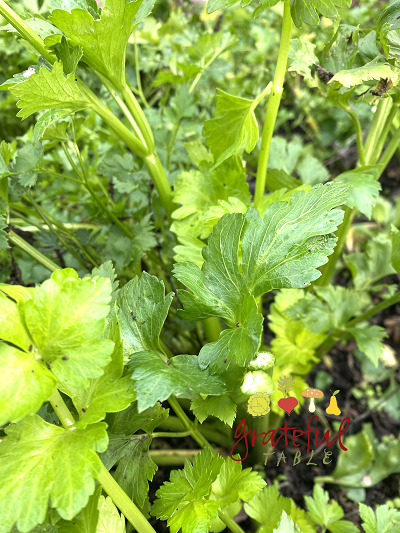
1. Don’t Just Buy Local- Eat Local, as in Your Backyard! OK, I’m veering away from the THM precepts here, but I think a lot of our health has to do with proper nutrition. We have a perfect Creator who supplied us with everything we should need for health. So- was it just coincidence that He gave us certain foods in certain seasons? Seems to me we most likely need many of the very things that are ripe and ready under our noses. With flu season underway, is it a coincidence that we have seasonal fruits that are loaded with vitamin C to fight off bugs? In my own yard, we had a plentiful harvest of persimmons, and are able to continue eating the extra ones I dried over the holidays. We also have lots of citrus ripening. Celery, parsley, and other greens are loving the cool weather- is this a hint that I need to make more soups and salads, to use all this stuff? YES, probably! Another perk of growing your own: you can avoid pesticides and irradiation, which may or may not be on purchased produce, imported or otherwise
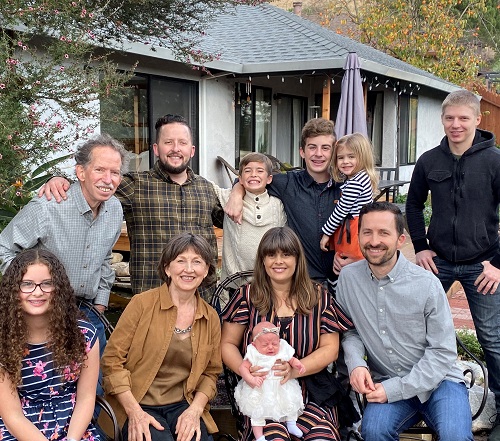
Hope you & yours are blessed with health & love in the new year!
2. Do Include More Protein, Less Carbs, to Avoid Weight Gain- Am I jumping on the Keto Bandwagon, going gluten-free and low-carb and all? Well, the proof was in the pudding, which I couldn’t eat on a regular basis without gaining weight. I did follow the THM precepts for the last six months, and felt healthier, AND maintained my weight goals. Maybe it’s not for everyone. But there does seem to be an almost world-wide health crisis, as “food” companies continue to profit from producing “food” that is not nourishing. I don’t think it’s an issue of accepting a certain body image, if that body has been created from a diet of very addictive non-food! In that case, it seems to me the right thing is to stop accepting the “food” that leads to sickness.
OK, so I do sound like a party-pooper. But when we are able to break our food addictions, healthy food starts tasting so good. I can only hope more people will be encouraged to nourish their bodies, and enjoy health in the process!
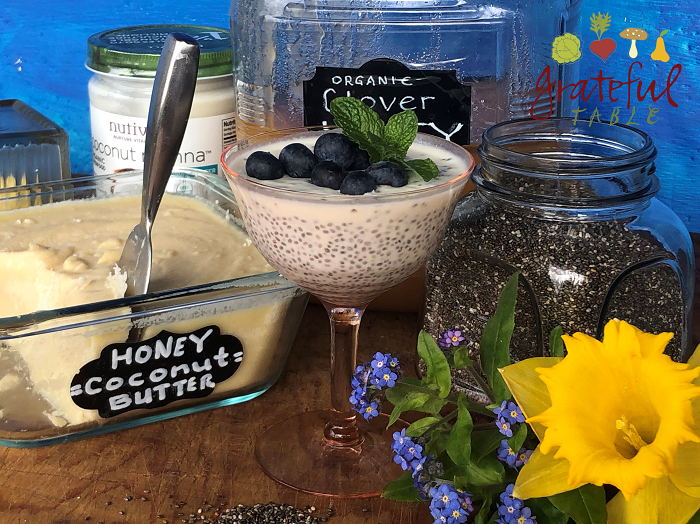
Teaser for upcoming post: My latest favorite Smoothie, with a dry “will powder” blend mixed in- keeps me from craving other not-so-healthy foods!